


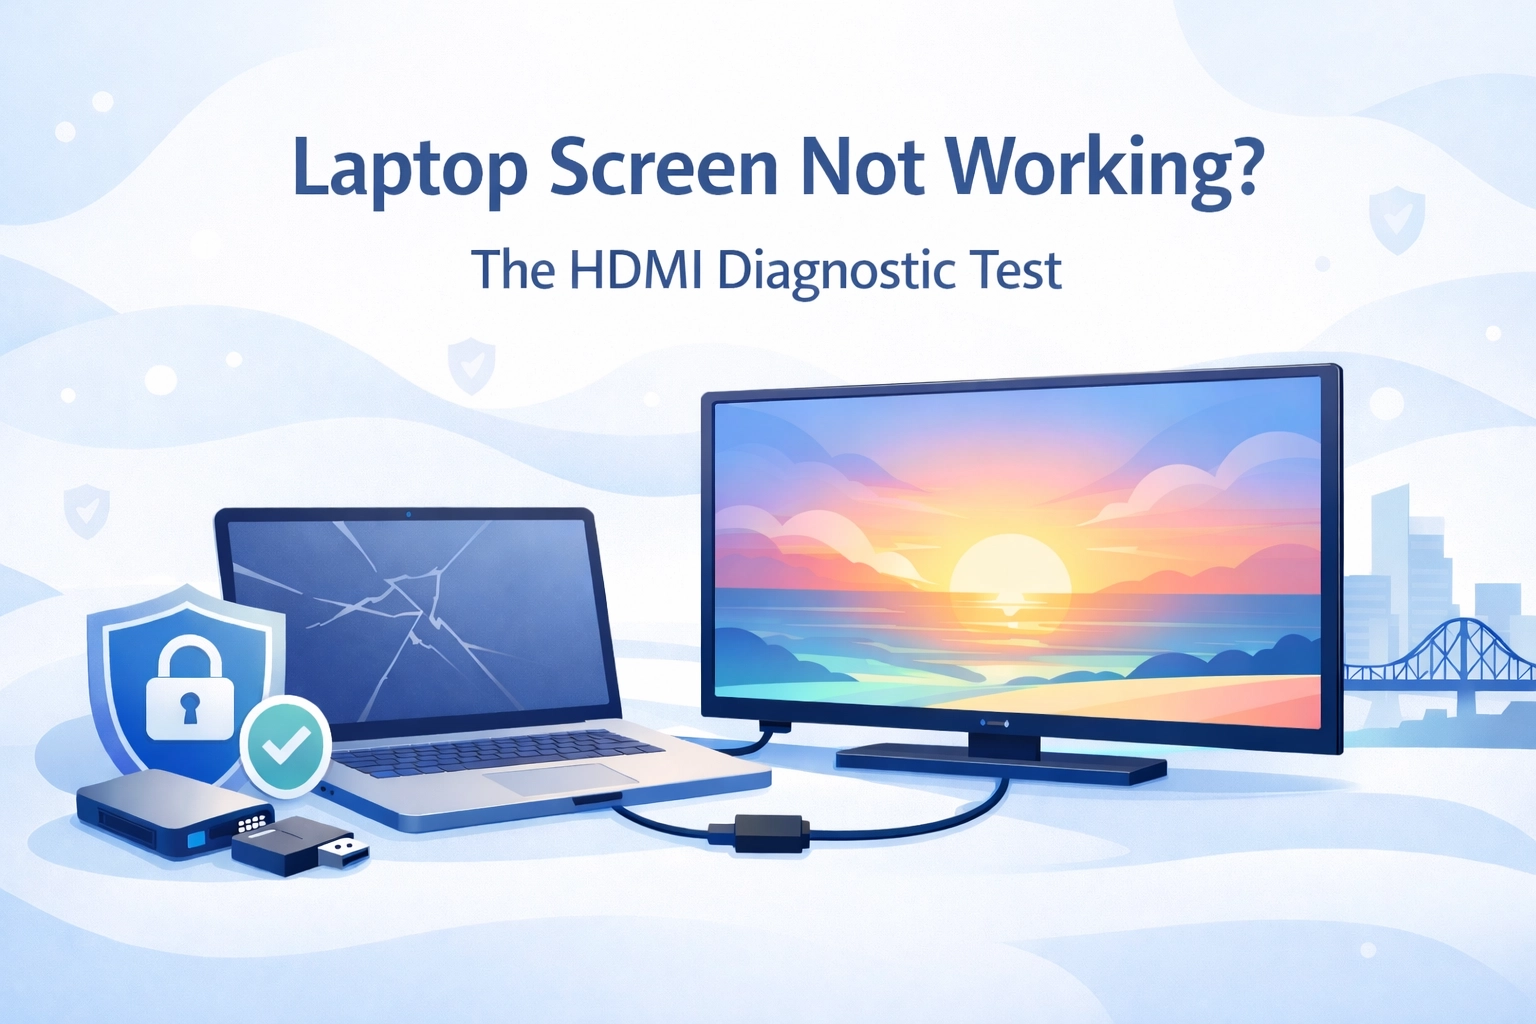
Your laptop screen's gone dark, flickering, or showing weird lines: but your files are still in there, and you've got work to do. The big question: is it the screen itself, the graphics card, a loose cable, or something more serious?
Here's the thing: before you start panicking about expensive repairs or lost data, there's a simple test you can do at home using your TV or an external monitor. It takes about five minutes, and it'll tell you exactly where the problem is.
Let's walk through the HDMI/TV test, decode what your results mean, and make sure your precious data stays safe while you're troubleshooting.
Why the HDMI Test Works (And What It Actually Tests)
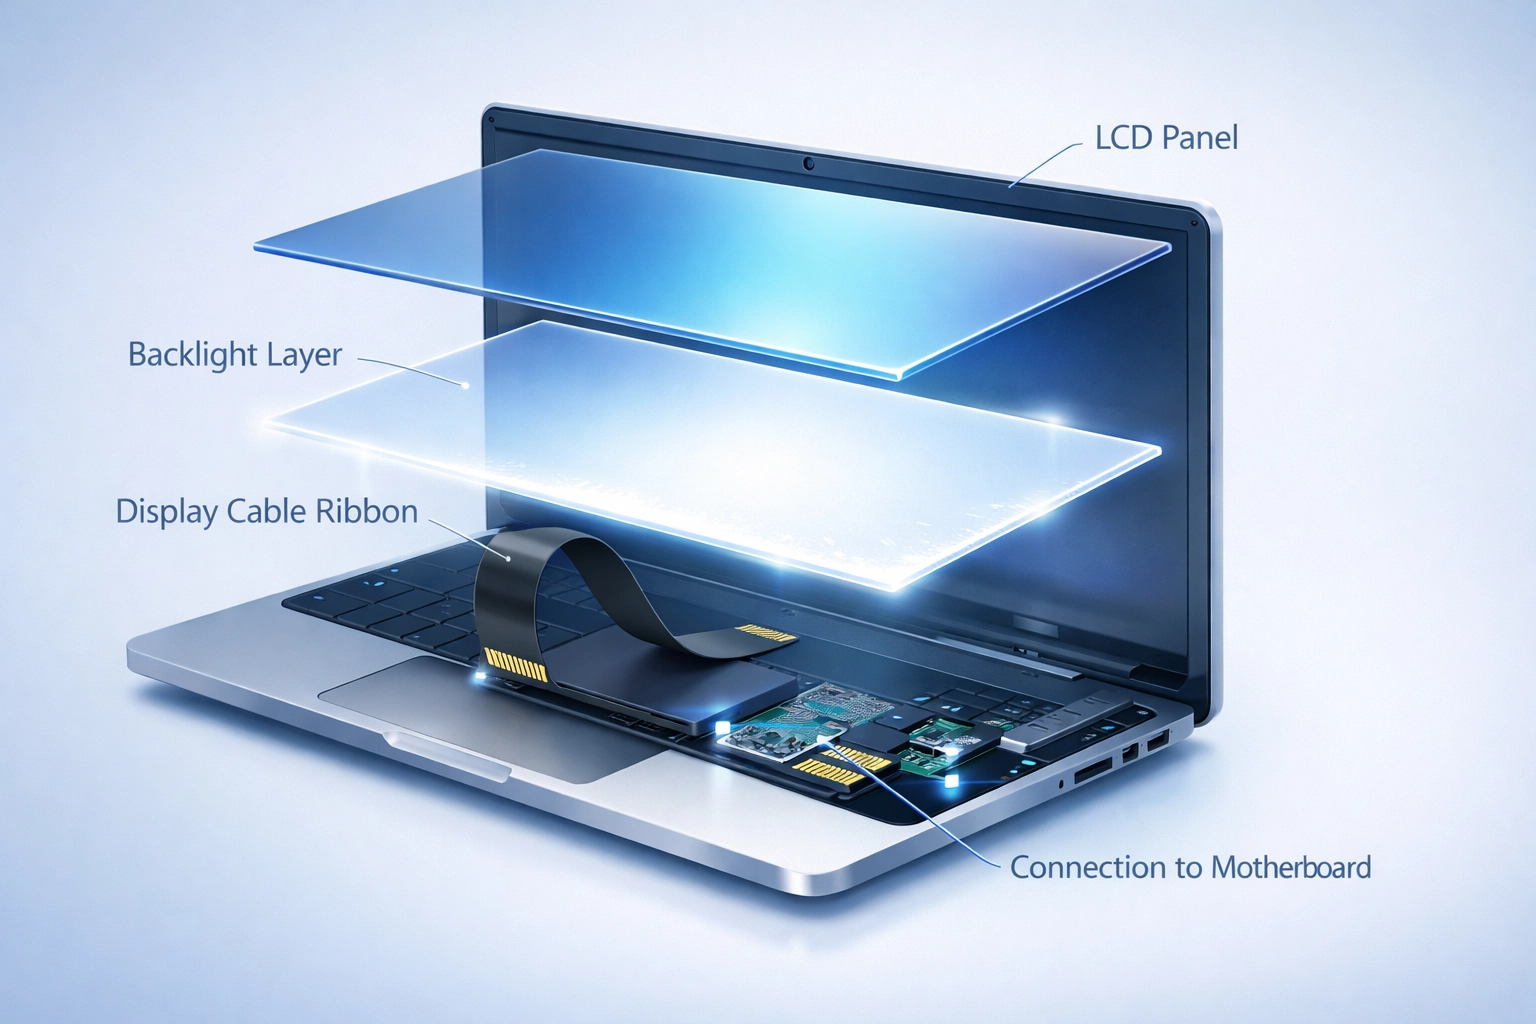
When your laptop display isn't working properly, the issue could be hiding in several places:
- The LCD panel itself : physically damaged or failing
- The backlight : the light behind your screen
- The display cable : the ribbon cable connecting screen to motherboard
- The graphics card (GPU) : the chip that generates the image
- The motherboard : the main circuit board
The HDMI test bypasses your laptop's screen entirely and sends the video signal straight to an external display. If your TV shows a perfect picture, you know your GPU and motherboard are fine: the problem's isolated to your screen assembly. If the external display has the same issues, you're looking at a deeper hardware problem.
It's diagnostic gold, and it costs you nothing to try.
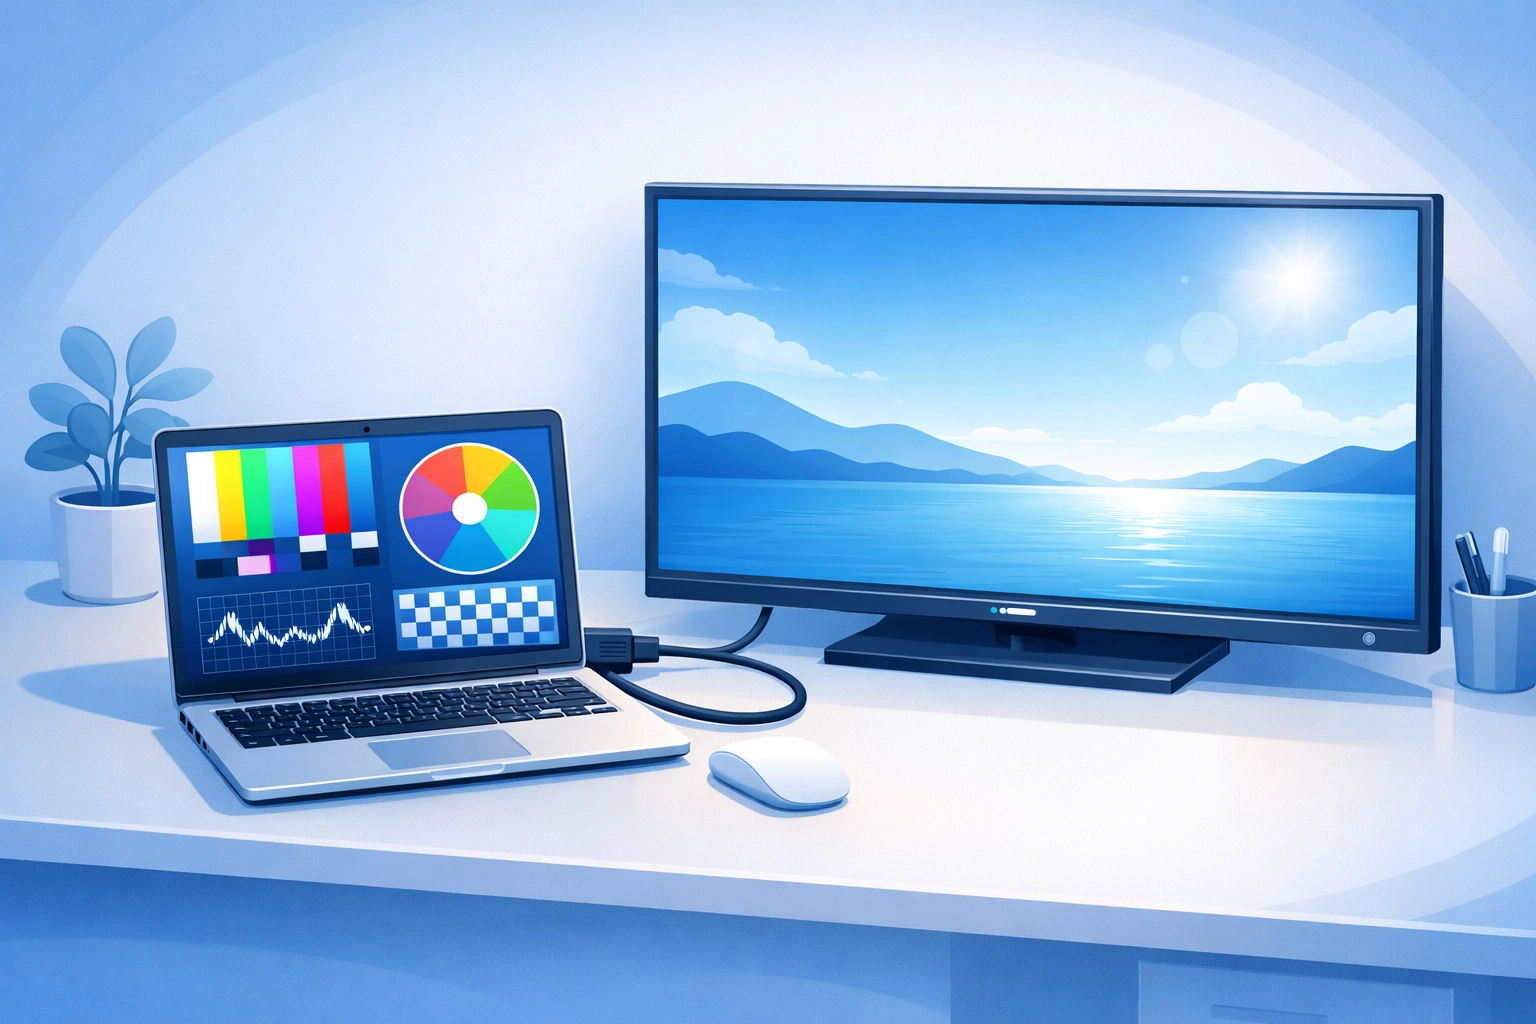
The Step-by-Step HDMI/TV Test
What You'll Need
- Your laptop (even if the screen's not working)
- An HDMI cable
- A TV or external monitor with an HDMI port
- About 5 minutes
Here's How to Do It
1. Connect Everything While Your Laptop Is Off
Plug one end of the HDMI cable into your laptop's HDMI port (usually on the side) and the other end into your TV. This prevents any weird power surge issues.
2. Turn On Your TV First
Switch to the correct HDMI input on your TV. Most TVs have multiple HDMI ports: make sure you're on the right one (HDMI 1, HDMI 2, etc.).
3. Power On Your Laptop
Turn on your laptop and wait for it to boot up. You should hear the usual startup sounds even if the screen's dark.
4. Watch What Happens on the TV
This is where it gets interesting. Give it 30 seconds for the signal to come through: sometimes Windows needs a moment to detect the external display.
5. If Nothing Shows Up, Try the Magic Key Combo
Press Windows Key + P (on Windows laptops) or Command + F1/F2 (on Macs). This forces your laptop to switch display modes. Try cycling through the options:
- PC screen only
- Duplicate
- Extend
- Second screen only
On many laptops, there's also a function key (usually Fn + F4, F5, or F8 depending on your brand) that toggles external displays.
What Your Results Mean (The Diagnosis Part)
Result #1: TV Shows Perfect Picture, Laptop Screen Is Dark/Broken
What this means: Your GPU, motherboard, and operating system are working fine. The problem is isolated to your laptop's display assembly—either the LCD panel, the backlight, or the display cable.
Common causes:
- Physical damage to the LCD
- Failed backlight (you might see a very dim image if you shine a torch on the screen)
- Loose or damaged display cable
- Failed LCD inverter (on older laptops)
Next step: This is a laptop screen repair job. The good news? Your data is usually safe—as long as you don’t keep stress-testing the machine with endless reboots. If you want a proper diagnosis (and the right part the first time), our network at Pro Computer Repairs can match you with an expert technician Australia-wide and get you a clear, upfront quote based on your exact model.
Result #2: TV Shows the Same Problem (Lines, Artifacts, Flickering)
What this means: The issue isn't your screen—it's your graphics card (GPU) or motherboard. The GPU is failing to generate a clean image.
Common causes:
- Failing graphics card
- Overheating GPU
- Motherboard issues
- Corrupted graphics drivers (less common but possible)
Next step: Try updating your graphics drivers first (in Safe Mode if needed). If that doesn't help, you're likely looking at a hardware repair or replacement. This is when you want a qualified technician to assess whether it's economical to repair—especially before you sink money into a screen that isn’t the real problem.
Result #3: Nothing Shows on TV or Laptop Screen
What this means: Your laptop's running (you hear it), but no video signal is getting out. This could be GPU failure, motherboard damage, or RAM issues preventing proper boot.
Common causes:
- Complete GPU failure
- Motherboard power delivery issues
- Failed RAM preventing POST (Power-On Self-Test)
- Serious overheating damage
Next step: Don't keep trying to boot it: more on this in the data safety section below. This needs professional diagnosis.
Result #4: TV Works But Is Flickering/Unstable
What this means: Your GPU is working but struggling. Could be thermal issues, a dying GPU, or cable problems.
Next step: Try a different HDMI cable first. If the problem persists, your GPU might be on its way out. Time to back up your data while you still can.

Critical Data Safety Steps (Don't Skip This Part)
Here's where many people make expensive mistakes. When your laptop display isn't working properly, there's often a temptation to keep rebooting, trying different things, and "just getting it to work one more time."
Don't.
If Your Laptop Still Boots Successfully (Even to External Display)
Do this immediately:
-
Back up your critical files RIGHT NOW. Use an external USB drive, copy to another computer, or upload to cloud storage—whatever’s fastest. Don’t wait until tomorrow.
-
Avoid big changes while you’re in “data rescue mode.” Hold off on major Windows/macOS updates, BIOS updates, and “cleanup” tools until your data is safe. Stability beats speed here.
-
Check your drive health using CrystalDiskInfo (Windows) or your Mac’s Disk Utility. If you see warnings, treat it like a priority—display problems and drive problems can show up around the same time (especially after drops, heat, or liquid exposure).
-
Protect your backup as you make it: If possible, copy the most important folders first (Documents/Desktop/Photos), then come back for the big stuff later.
If Your Laptop Won't Boot Properly or Is Crashing
Stop trying to force it. Every failed boot attempt on a dying hard drive can cause more data loss.
If you're getting:
- Blue screens of death
- Freezing during boot
- Clicking sounds from the hard drive
- Repeated boot loops
Then it’s time to call in the professionals. At Pro Computer Repairs, our Australia-wide technician network can often extract your data safely even when the laptop won’t boot—but the more you try yourself, the harder (and more expensive) it can become.
The "One Last Boot" Trap
We see this all the time: "I just need to get it working one more time to grab that one file."
If your laptop's displaying serious hardware issues, that "one more boot" might be the one that kills your hard drive for good. Especially if you're dealing with overheating or power delivery problems that caused the screen issue in the first place.
Professional data recovery exists for a reason: and it's almost always cheaper than losing critical business files or family photos forever.
When to DIY vs When to Call Pro Computer Repairs (Australia-Wide)
You Can Probably DIY If:
- The external display shows everything perfectly fine
- You're comfortable with the HDMI test and interpretation
- You just need to use an external monitor temporarily
- You're tech-savvy and want to attempt a screen replacement yourself (though we don't usually recommend this)
Call Us When:
- You're getting inconsistent results
- Your data hasn’t been backed up and you’re worried
- The external display shows problems too (GPU/motherboard issues)
- You need professional data extraction before repairs
- The laptop won’t boot at all
- You’re hearing strange clicking or grinding sounds
- You want an expert to confirm the fault before you spend money on parts
We’ve handled every variation of display failure you can imagine—from simple panel swaps to deeper board-level faults—and we’ll tell you straight what’s worth fixing. Better still, we’re not limited to one location: Pro Computer Repairs operates via a network of trusted technicians Australia-wide, so you can get expert help without the “big chain” runaround.
Australia-Wide Laptop Repair Tips (That Actually Matter)
If you’re dealing with a laptop display issue anywhere in Australia, focus on the stuff that saves you money—and protects your data:
Get the diagnosis before you buy parts. Screen prices vary wildly by model. A common 60Hz panel is often affordable; a high-end OLED, touchscreen, or 4K panel can be a different story. A quick diagnosis helps you avoid buying the wrong screen when the real fault is the cable or GPU.
Moisture and corrosion are sneaky. Coastal air, humidity, and old spills can corrode connectors over time. What looks like “just a screen issue” can be a cable/connector problem underneath.
Heat kills weak hardware. Hot cars, blocked vents, dust buildup, and heavy workloads can push a marginal GPU over the edge. If you suspect heat, back up first—then troubleshoot.
Your Next Steps
You’ve done the HDMI test. You know what the results mean. You’ve (hopefully) backed up your data.
If your external display is working fine and you just need a screen replacement, you can either use an external monitor temporarily or get the screen replaced. If you’re seeing GPU or motherboard issues, you’ll want a proper diagnostic chat about whether repair or replacement makes more sense—before you spend money chasing the wrong fix.
Either way, don’t let a laptop display not working issue spiral into data loss or a more expensive repair. The earlier you act, the simpler (and cheaper) it usually is.
Need help interpreting your HDMI test, protecting your data, or getting a quote? Contact us or book online at Pro Computer Repairs. We’ll connect you with an expert technician from our Australia-wide network and guide you to the safest next step—no guesswork, no hidden fees.